Remnant 2 Endaira’s End Dungeon Puzzle Guide
Endaira’s End contains some of the most difficult puzzles to solve during a randomized roll of all the dungeons that could occur in Remnant 2.
Endaira’s End is a dungeon that can sporadically show up in Remnant 2’s Yaesha world rolls. It might not have a major boss battle at the conclusion, but it does contain a few mysteries that will leave players baffled.
Remnant 2 players will want to search every nook and cranny of this crumbling temple if they want to locate every scrap of treasure that can be found in this dungeon, as there is some intriguing loot to be found. This is a brief guide that covers the Endaira’s End mysteries and puzzles that we have found so far.
Remnant 2 Endaira’s End Dungeon Guide
After killing all of the Root rangers and other scary wooden creatures in the temple, players will eventually find a small checkpoint that leads to a room with Endaira’s Endless Loop, a ring that heals the wearer after they run for at least two seconds. There is more than just this item in this cave. The first big secret is also in this room.
There is a pressure plate in front of the steps that lead to the altar that opens up a wall close. The wall will close again after players leave the pressure plate, so they will need to move quickly to get inside. From this new room, you can get to a small maze of similar secret walls that are controlled by pressure plates. Each room has symbols on the roof that look like the ones in the Imperial Gardens. We still don’t know what they mean, though.
As you enter each new room, dodge roll through the barriers to avoid getting hit by arrow traps or squashed. Try to get into all of the rooms. One of them has the Krell Axe, a lightning-filled hatchet that can be thrown, and the other will have an Aberrant Root Zombie that drops Corrupted Lumenite Crystals and the Vampire Blade Mutator.
After going through enough rooms, you’ll find this tomb with a ladder leading up. To find more secret loot, follow it to the top floor and drop off the ledge.
Hidden Library
Players may come across a statue in the vast room that is located before the checkpoint. The statue is adorned with a lit brazier and a tiny flag. In order to access a secret library, you will need to break the pots that are located in the right-hand corner of the screen. On the inside of the book are some pages of Yaesha mythology and the Burden of the Follower ring.
Atrophy
There is a pressure plate inside the secret library. To get to it, turn left after going up the stairs. The pressure plate opens a secret door in the wall when it is pressed. Players can drop past the wall and fight Atrophy as a boss. Atrophy is a Root boss that hits with close combat to put pressure on the player. The Rot Stalker, which works the same way as Atrophy but has its own life bar, helps it.
Atrophy can rush the player with close attacks, and if given the chance, he can also make a new Rot Stalker. It glows red and turns into a ball of spinning energy while it does this. Players can deal a lot of damage to it while it’s doing this, though, since it’s still taking damage. Gamers could also use this time to heal and buff themselves, or they could just clear out the room of any new enemies that have come in.
To protect itself, Atrophy will block bullets from the front with its blades, causing players to circle around it or attack while it is in the middle of an attack and can’t block. The Handler Class’s dog is great at drawing this enemy’s attention away, leaving it open to attack. The head is where it’s weak, so players should aim for the head whenever they can to do the most damage. A lot more Root enemies come in from ledges all over the room to help Atrophy. In some cases, they will keep coming even after the boss is dead.
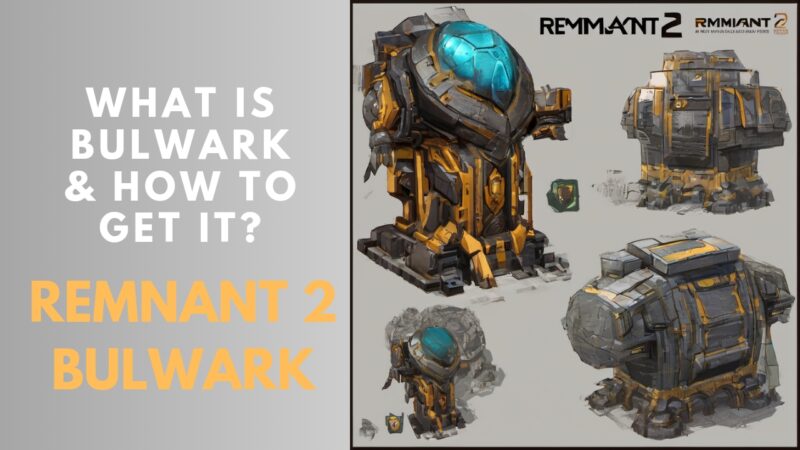
Once it is eliminated, Atrophy will release the “Bulletweaver” mutator. For seven seconds following use, the equipped weapon gains 10% additional power thanks to this mod.
The Labyrinth Puzzle
One of Endaira’s End’s maps will finally have a room with an altar that holds the Endaira’s Endless Loop Ring. A pressure plate will move nearby, revealing a way into the maze. There are several square rooms in this maze. In the middle of each room, more pressure plates raise slabs that lead forward. To get through this path before it hits your Remnant 2 character, you have to either avoid it or run through it quickly.
One of these rooms has the Krell Axe item, so be careful not to move through these parts too quickly. In Remnant 2, this close-range weapon does Shock damage, which could help you fight the Root Sniper that hides in the maze and waits to surprise you. The shapes on some of the rocks hanging from the ceiling look like the shapes you’ll find in The Lament Dungeon’s funeral altar puzzles.
The pictures above, luckily, don’t have anything to do with the puzzle. They’re just a distraction that might throw some explorers off. You should avoid rather than run when you enter a new room because some of the pressure plates that open up a new way also fire darts at your character. The Tempest Conduit ring should be on a table in the last room, and there should be a ladder on the left side.
Illusory Wall
When you get to the end of the maze and drop off the ledge, turn left right away and walk through the fake wall. This opens a room with the Pulsing Heart, a Relic that heals friends within seven meters every three seconds for fifteen seconds.
The Locked Red Door Puzzle
You will discover a locked red door in Endaira’s End by going back to the second checkpoint in the dungeon. This door also opens when you step on the pressure plate that opens the maze. But when you step off the plate, the door shuts again, and in Remnant 2, there’s no way to get to where the door is before it shuts. One person has to go through the door while the other stays on the pressure plate if you want to play with other people.
The door permanently opens from the other side, leading a group to a hallway full of buzzsaws that has the same pressure plate puzzle set up. You’ll find the Captain’s Insignia Ring at the end of this part. For every enemy you knock down, it will heal you 25% faster and let you use relics 25% faster. You can use this affect twice, and it works well with many of Remnant 2’s best co-op game modes.
The Wind Chime Puzzle
If you roll a map for the Endaira’s End dungeon and it leads you to a big outdoor area with a huge tower, the puzzle answer will be very different from the ones we’ve already talked about. In Remnant 2, a draft of wind can’t go through the whole tower, so your character has to stand on the right symbol pressure plates to make enough force to turn on the building.
As you walk into this room, you need to turn right and crawl through a broken piece of stone wall to get to a secret room with a book on a table. That’s all you need to know to solve the Remnant 2 puzzle. There are two pages in this book with a series of images. When you go back to the tower, you can see that as you climb the twisting stairs, there are marks on the ground on each floor that make a certain noise when touched.
Check the book to see which symbols to step on next. Do this until you see a green jet of wind go through the chime and a small pedestal rise up near the door to the area. Your reload speed goes up by 12% when you wear the Wind Hollow Circlet. This gives you a much better chance of having weapons ready to fight Remnant 2’s tough enemies.
Even though Endaira’s End has a lot of other things to find, all of the puzzles in this dungeon are very rewarding for ambitious Remnant 2 players who take the time to figure them out.